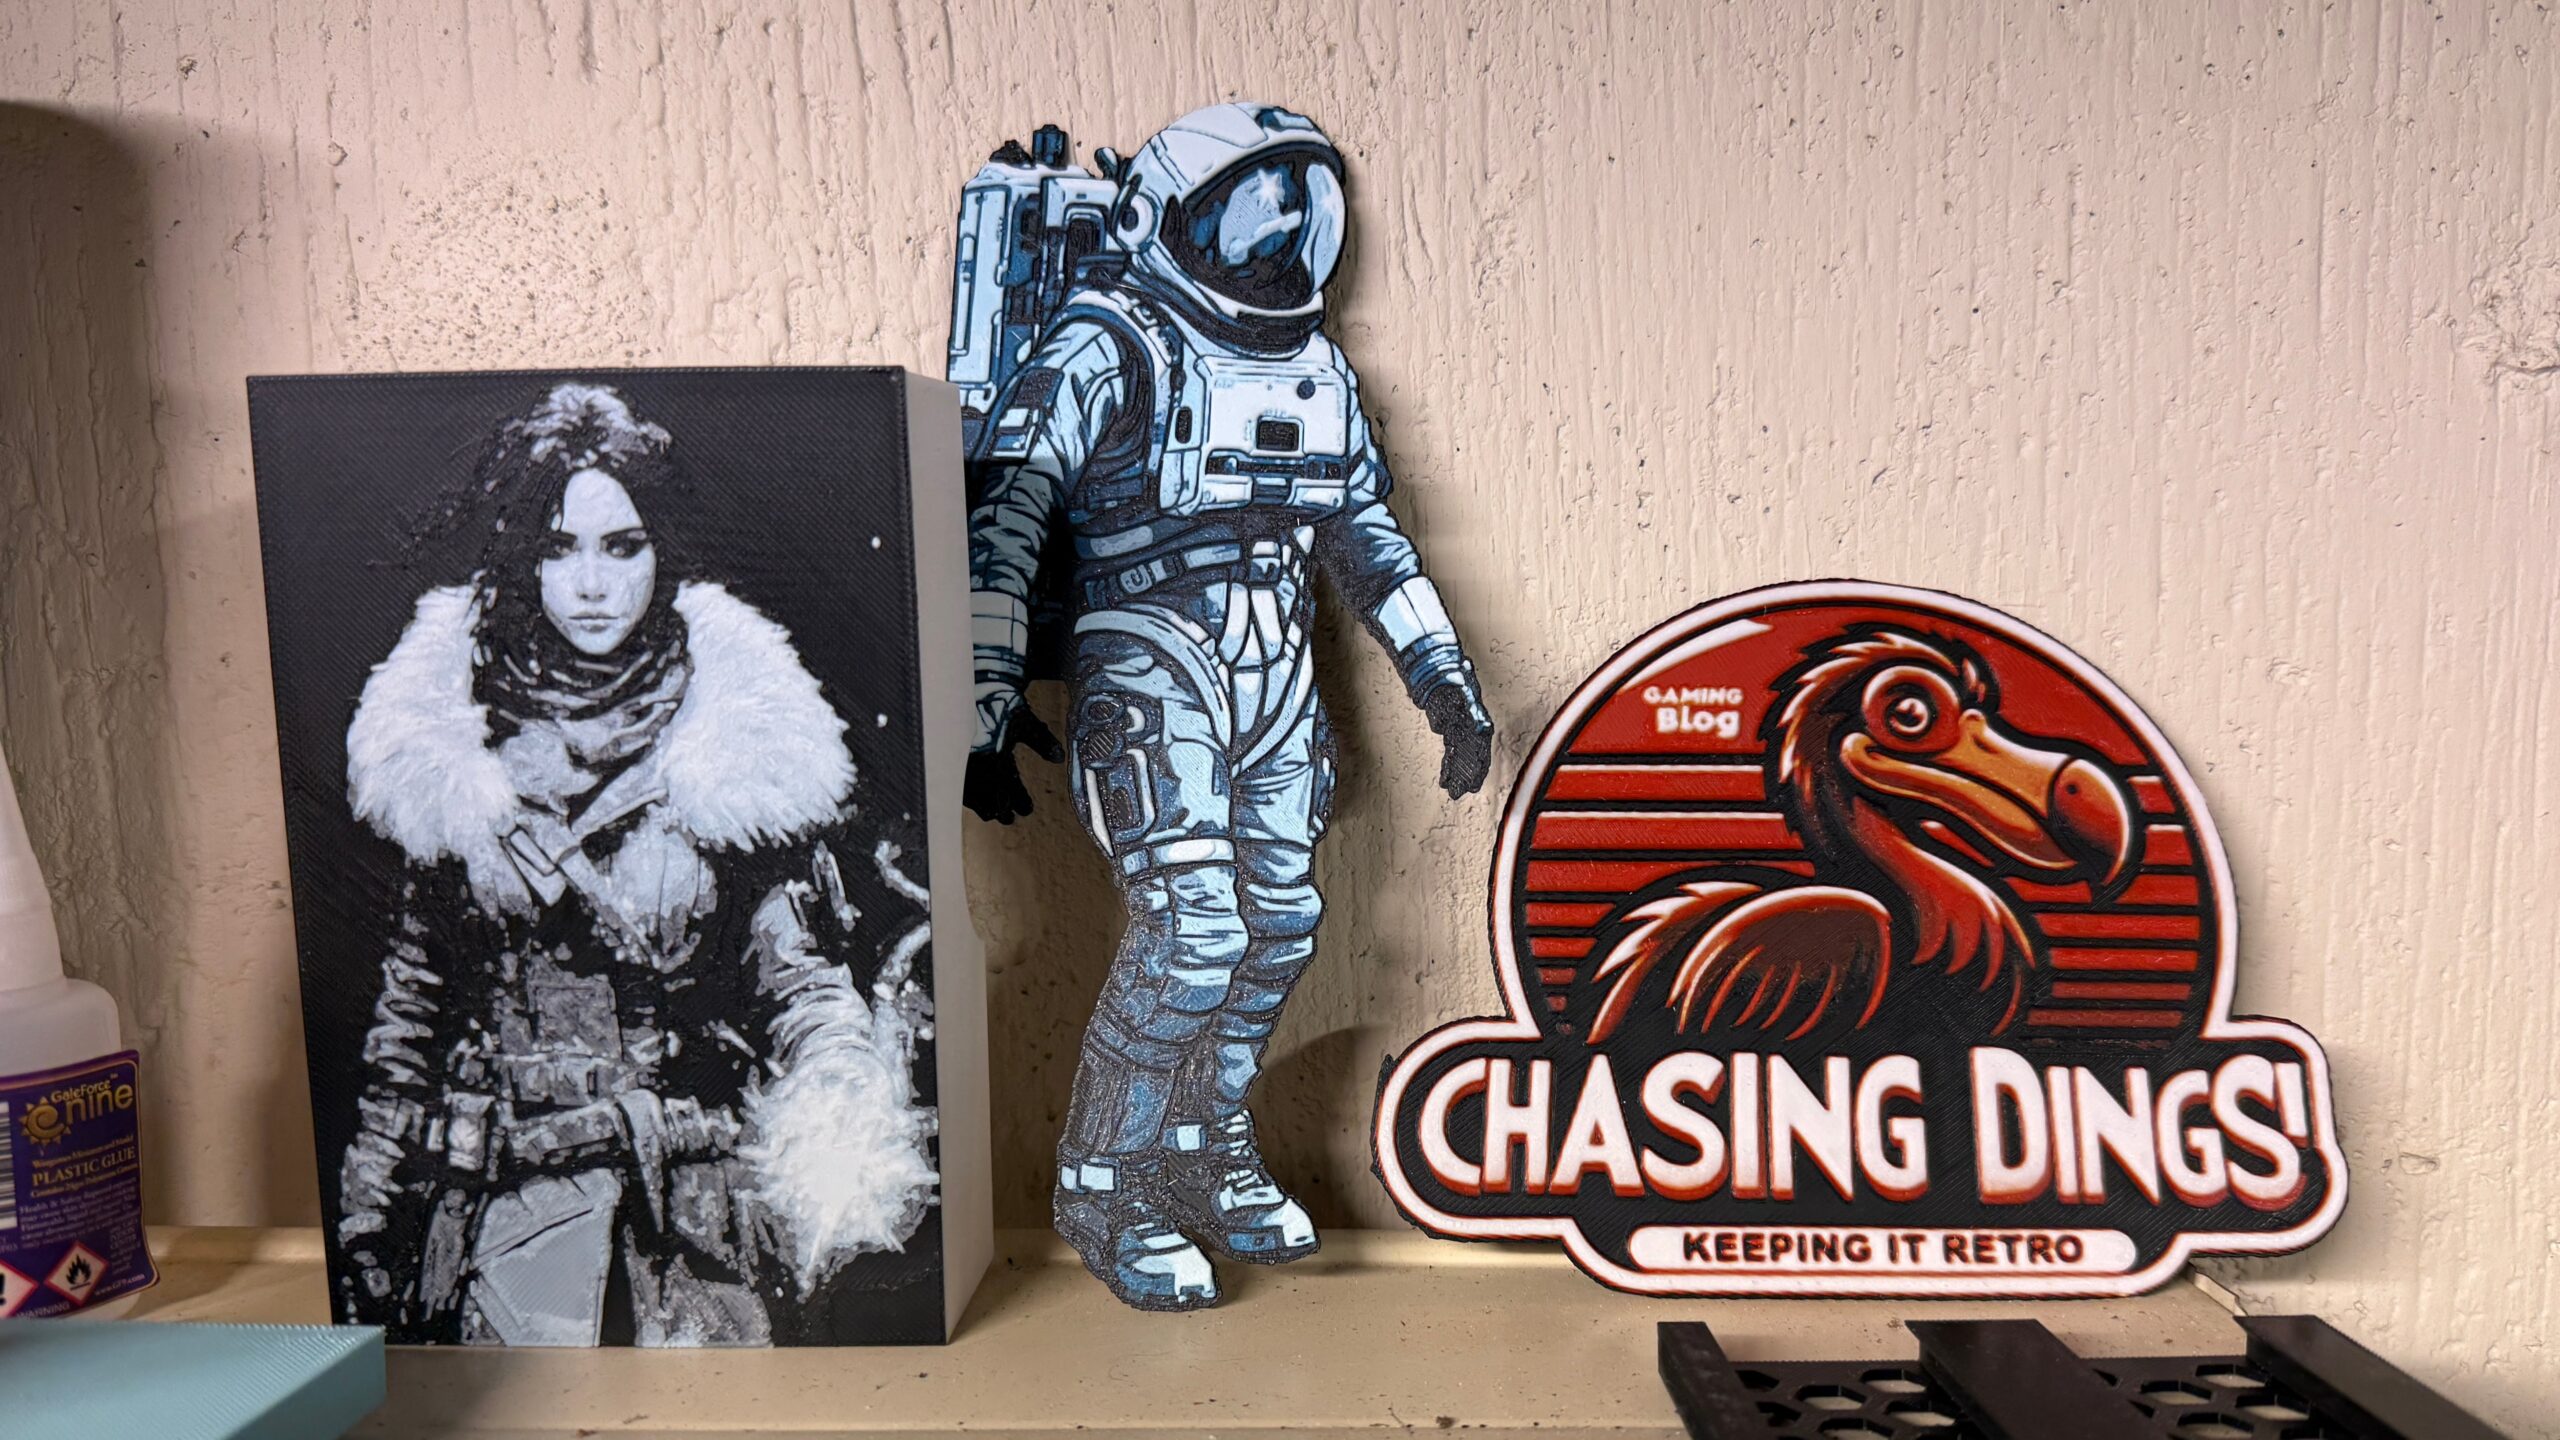
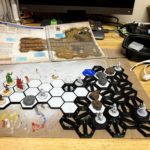
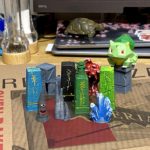
Left to right on the picture above: the cover to my Malifaux December deck, showing Rasputina; the astronaut that is the test print for Hueforge; and my blog’s logo. Because everyone has to have a logo.
When I printed the ice pillars for my December crew, I saw that the blue of the rune layers was dimly showing through the white layers. It gave it a magical feel that I kinda liked. I had the bright idea that maybe, just maybe, there was something to this, and you could make cool things with depth to them, maybe.
Google let me know I was far from the first to think of this. There’s a technique called “lithopaning” which lets you create 3D-printed images that reveal themselves when held up against a bright light, with fewer layers representing light areas, and more layers representing dark areas.
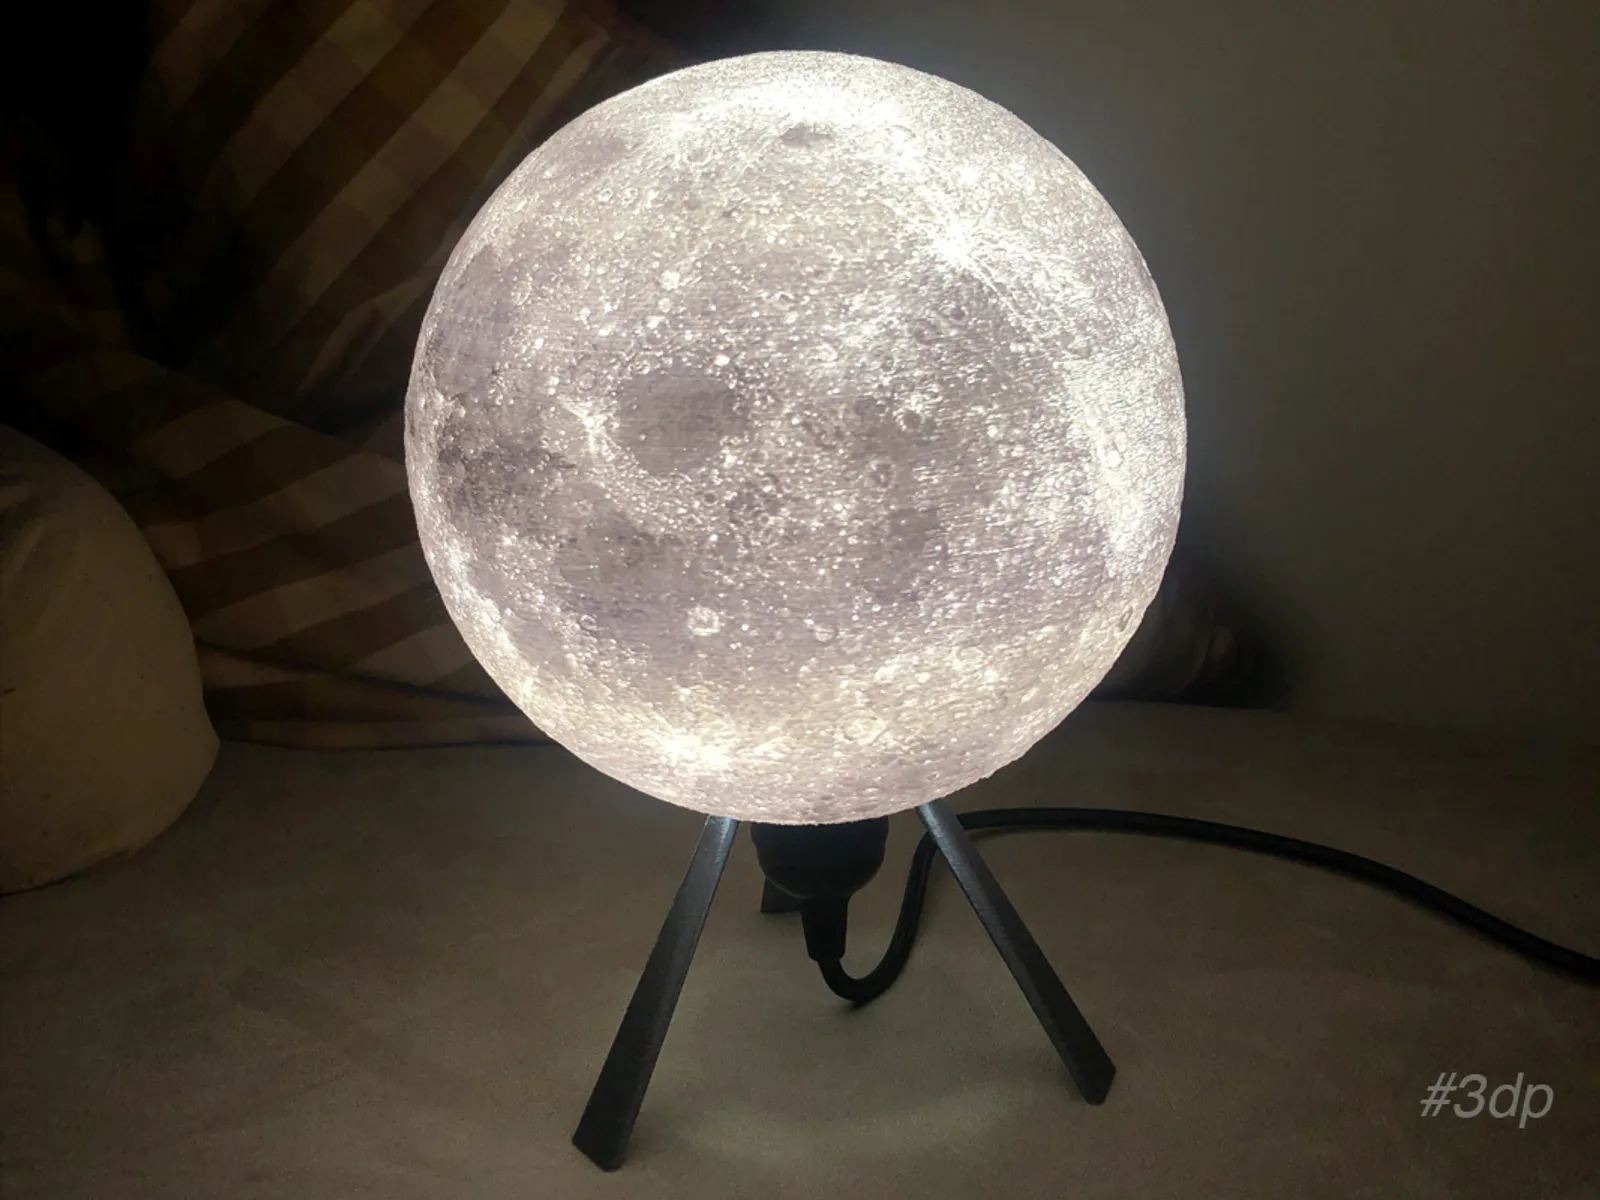
This 3D print of the Moon is made by printing overlapping circles, layer after layer, where the width of each segment along each circle is determined by the Moon’s topography; thicker for dark areas, thinner for light areas. Put a light source in it and you have a Moon. Doesn’t do phases very well, though. This might be a problem if you have sudden-onset lycanthropy (SOL).
HueForge creates color lithopanes that don’t require a light source to view. It’s based off a concept of “transmission distance”, or TD. This is a measure of the opacity of a very thin layer of a particular plastic filament. Every filament by every manufacturer has a different TD; a white filament by Prusa may be more opaque than one by BambuLabs but less opaque than one by Overture, for example.
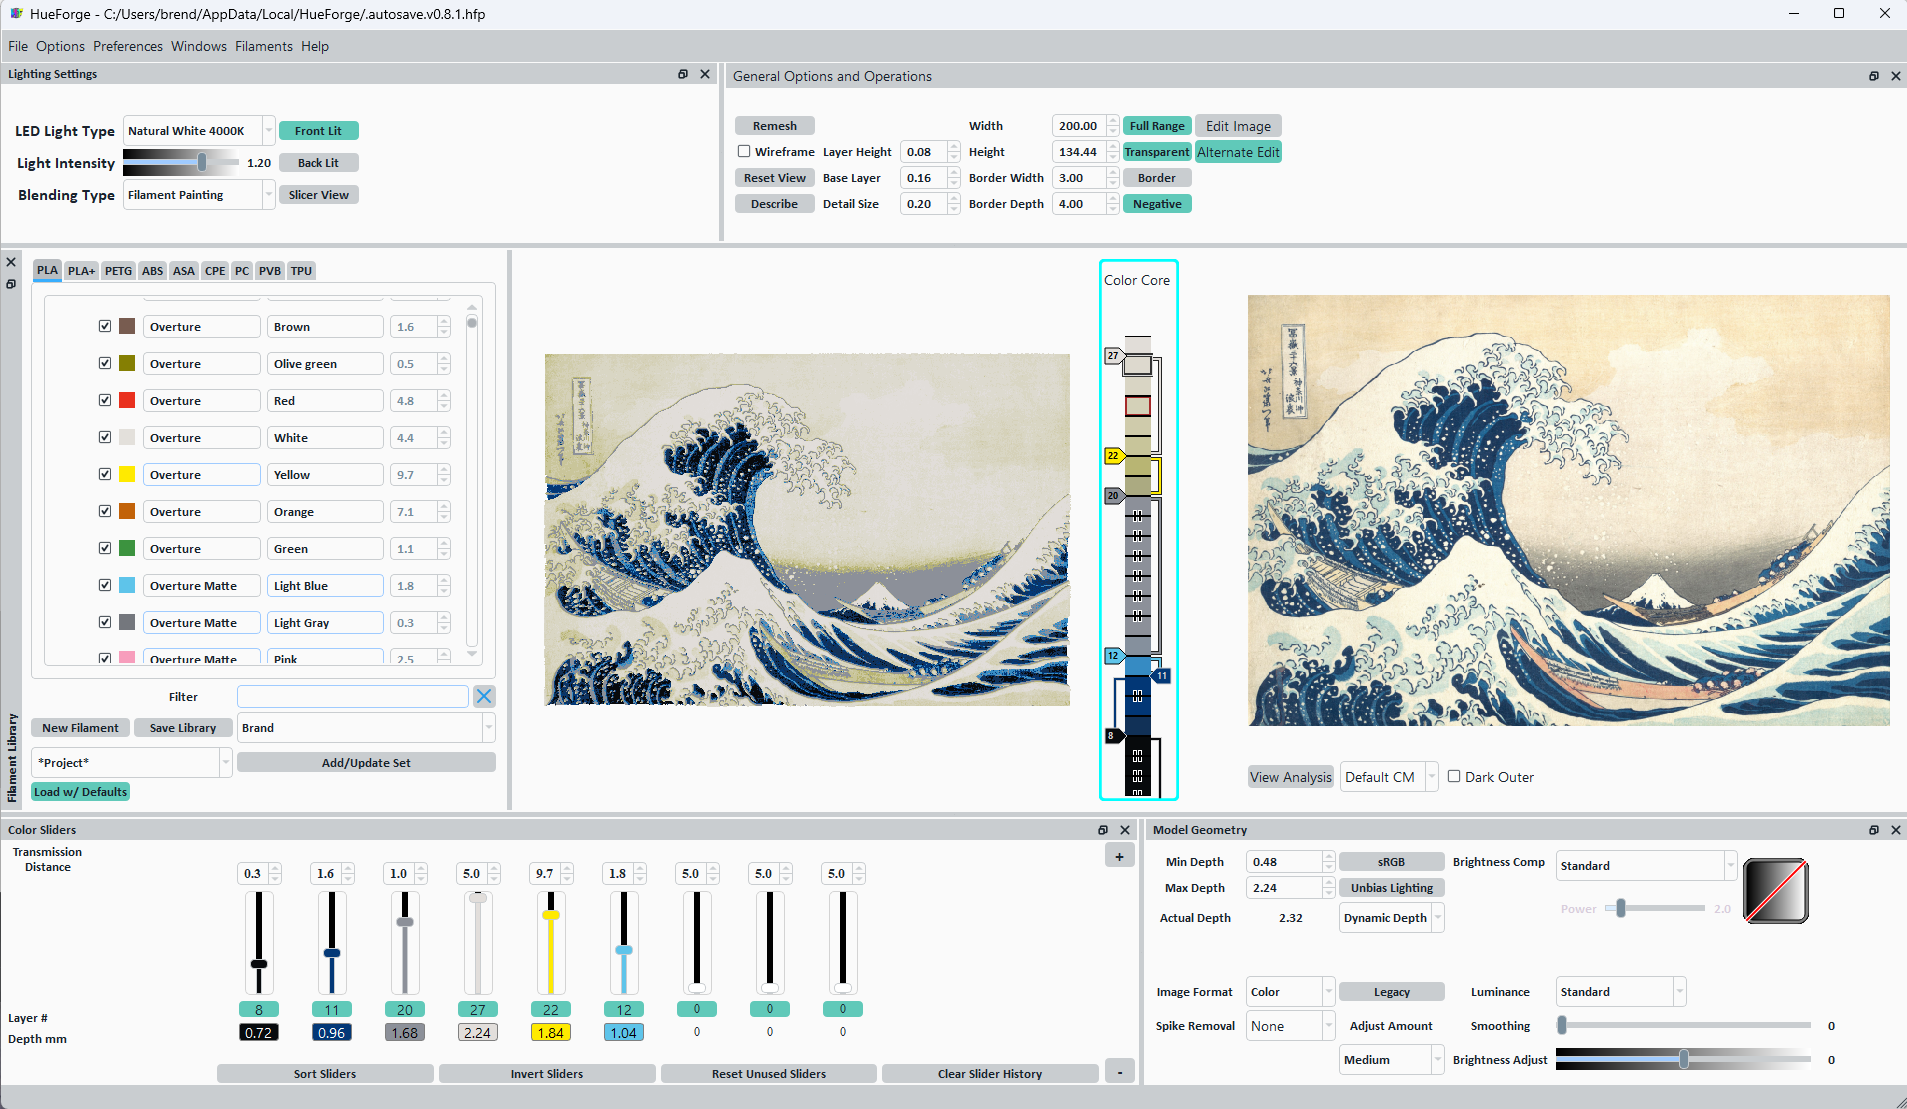
You start by telling HueForge what filaments you have available. When you load an image, it will give you a rough rendering with black as the first color, white as the last color, and a dark and a lighter color shade between them. In the Hokusai print above, the left four sliders are based off the default settings.
The color graph between the work preview and the original image shows the layers where the color changes. Every printer of which I’m aware allows you to pause the printer at a specific layer in order to change the filament; my Bambu P1S has an automatic filament changer that lets me work with four colors at a time. In this example, with six different colors, I’d have to put in a manual pause in the middle to replace the two darkest filaments with the two lightest ones.
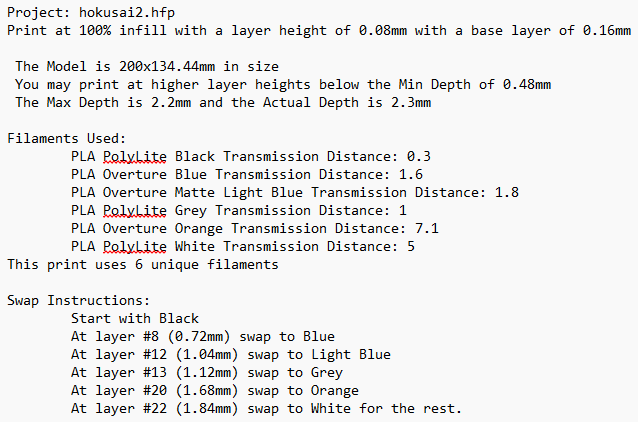
Exporting the finished design gives an STL file and instructions on the print parameters and at what layer to swap to what color. The notes above reflect additional work I did on this print after I took the screenshot.
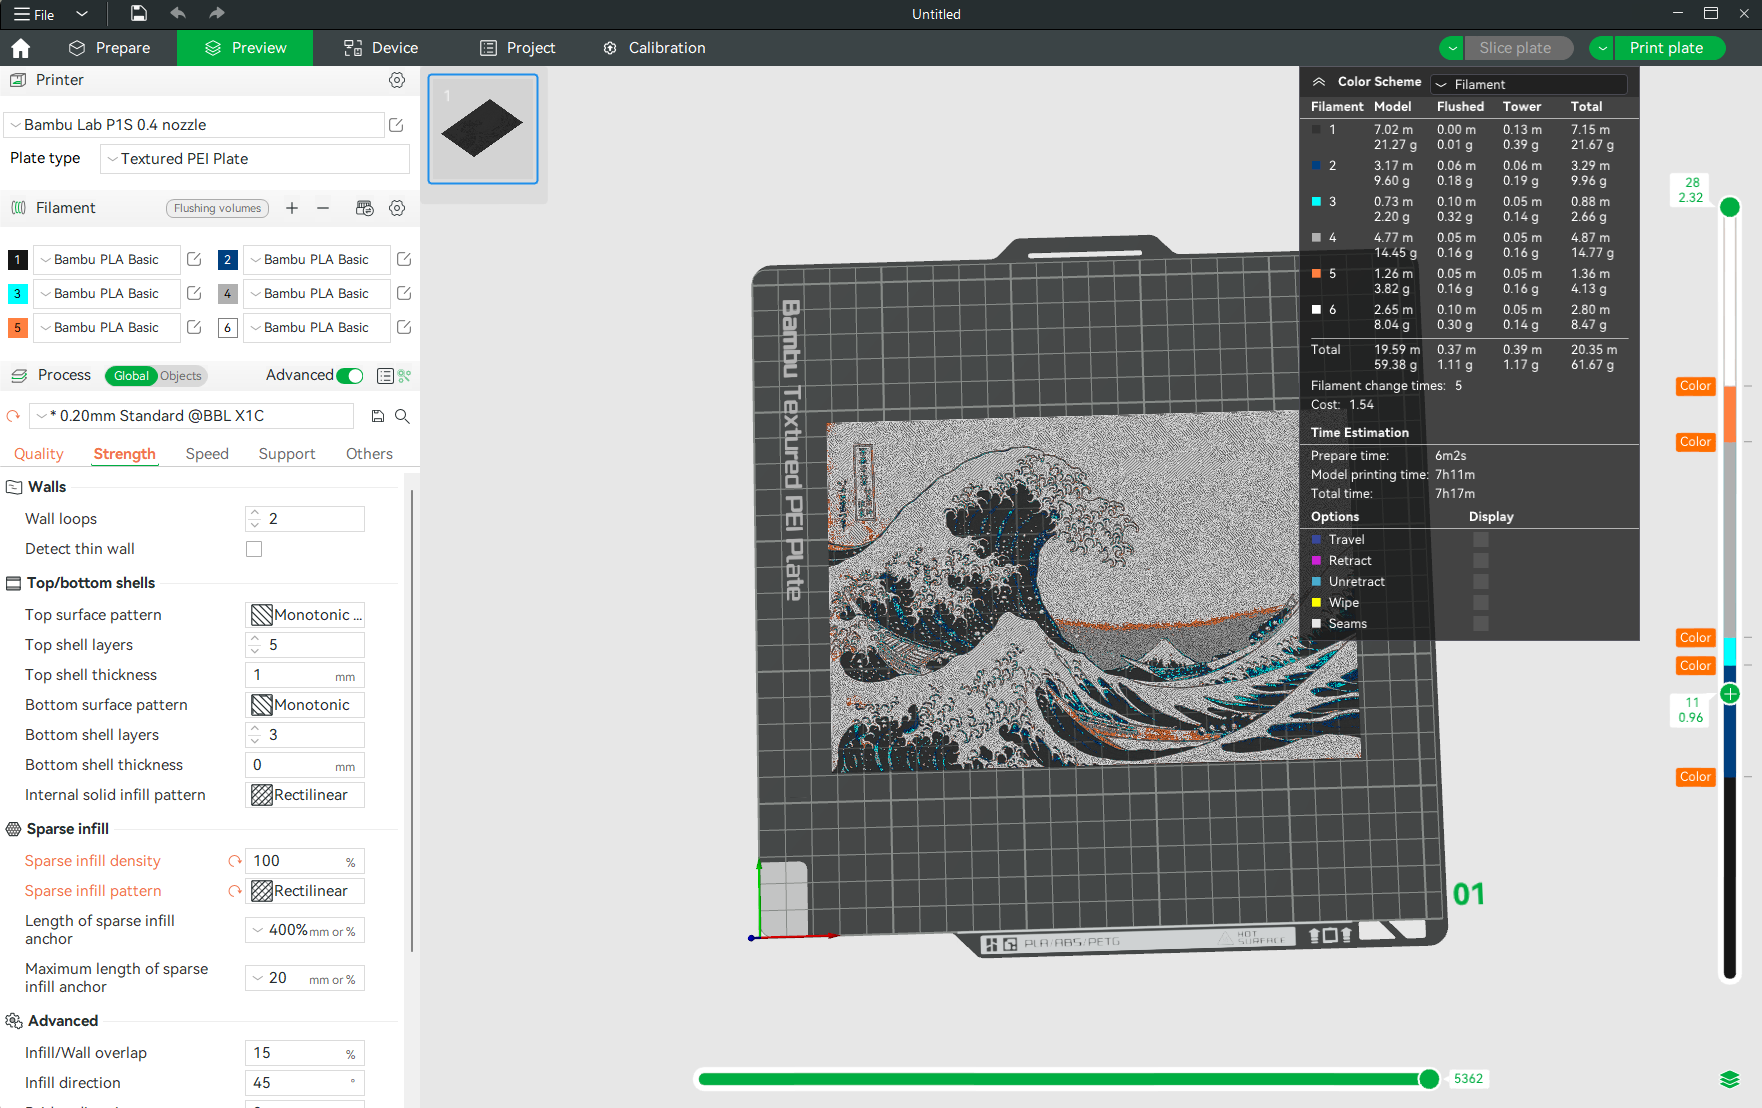
Importing it into the slicer, setting the filament colors and the color changes gives something like this. The preview is what the slicer thinks this will look like when printed. It’s wrong, though, because it doesn’t take transmission distance into account. But even in this preview, it shows the writing along the left perfectly readable. How will it look when printed?
We’ll find out seven hours after I hit the print button…

1 thought on “Hueforge: High Rez Color Pictures on your 3D Printer”
Comments are closed.