My D&D group — which is mostly my immediate family, with the DM being my son-in-law — is working our way through the Dragon of Icespire Peak, an introductory D&D 5e campaign.
It’s a lot of fun. We’ve been encountering the titular white dragon, Cryovain, now and again, but we’ve always managed to give it something to eat. Momentarily sated and not looking to get into a fight, it always leaves again.
It’s time, though. We’ve come to the end of the campaign, and our final job is going to be to take on the dragon in its lair high atop Icespire, in a fortress filled with death.
An epic fight requires an epic mini.
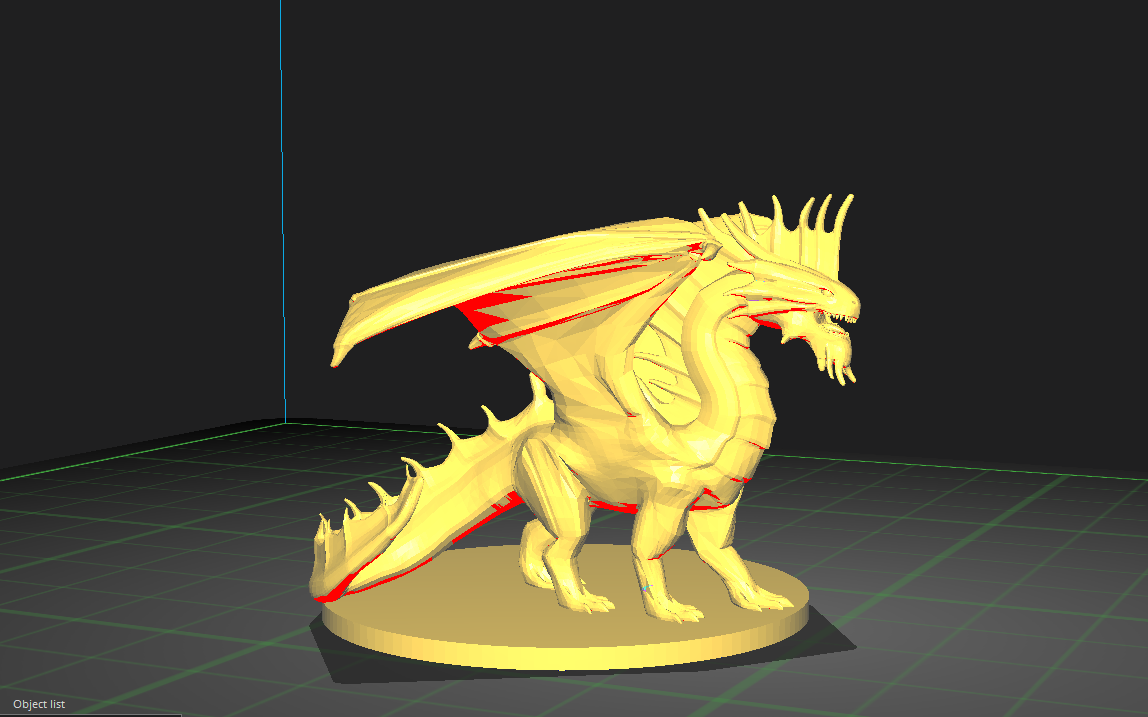
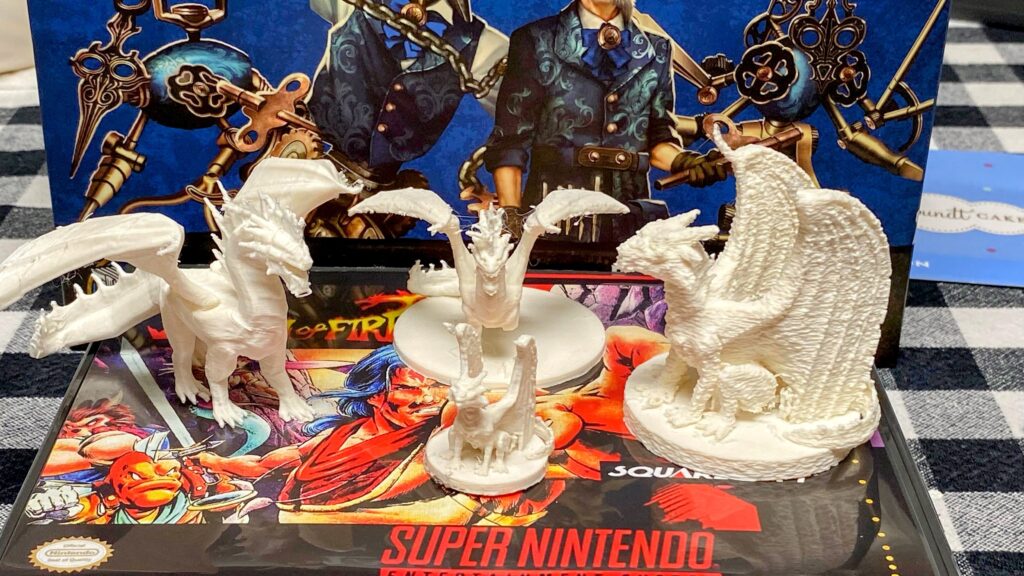
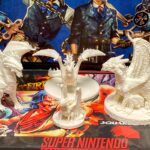
The dragon I chose to paint is the one on the left, assembled from 3D-printed parts. It’s white. We could use it as-is. But. What if it were blue?
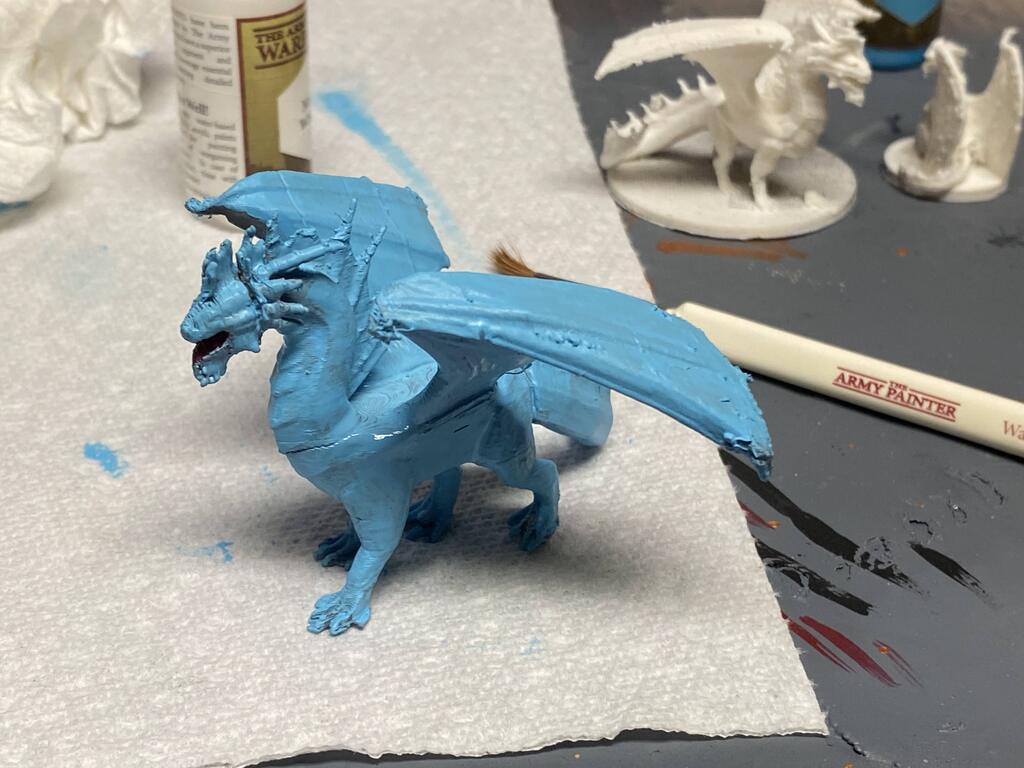
It’s easy to see when painted how not-good the pieces fit together. I should have sanded them so that there wouldn’t be ugly gaps. Well, too late now, I guess.
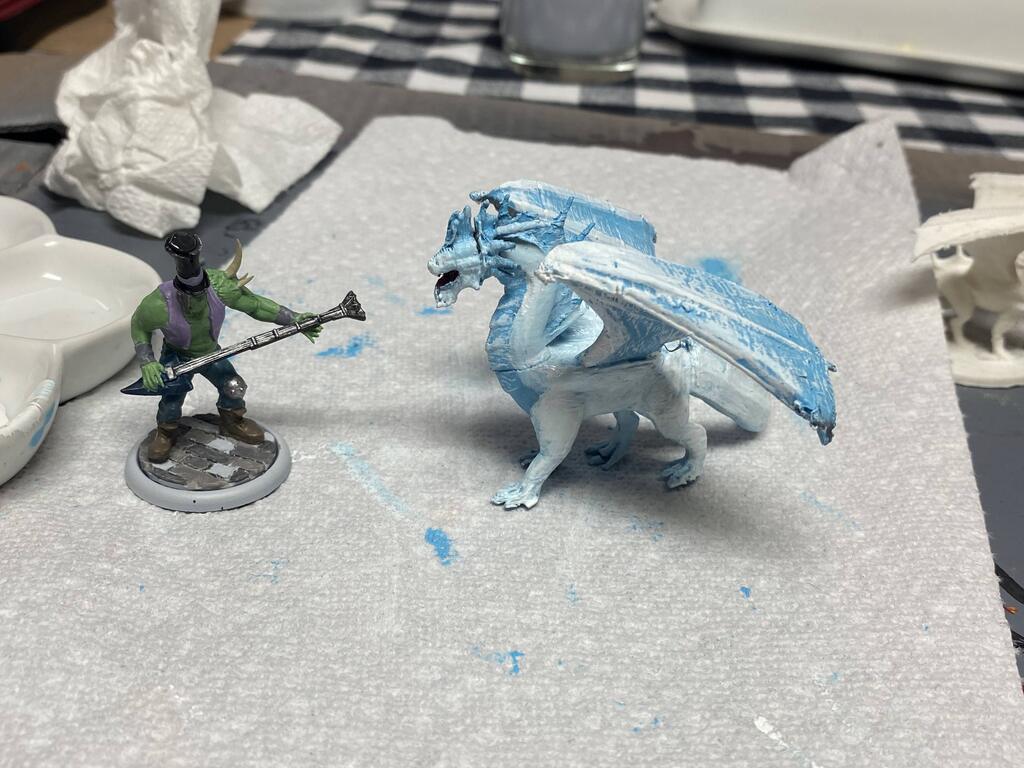
My thought here was that the dragon would be an icy white, with a lot of blue highlights. A lot of the painting guides for dragons assume that the dragon will have a lot of prominent scales, but this model only hints at scales. I thought I would paint it all blue, then start adding white until it looked like a white dragon — with ice in its veins.
They say that a sculptor takes a block of marble and chips away anything that isn’t part of the statue hidden inside. With mini painting, you add paint until you can see the character you wanted to create.
Paint for plastic models comes very thick; it has to be thinned to be used. The thinner it is, the more that details show through, but the more coats are needed. The dragon here is about two coats in. I can see the dragon taking shape, but it’s not quite there yet. The body probably needs another couple coats of white, and the neck scales and the wings need a little more dry brushing.
If Kasul had printed this on his printer, it would have more details, and he probably could have gotten away with the fully-assembled one. My filament printer with the faulty nozzle is doing the best it can. It didn’t help, probably, that I crowded the build plate with all the separate pieces. I might have had better luck printing them separately… but it is what it is.
I’ll finish it up and bring it to the table and we’ll see how it does against a party of seasoned adventurers… it should look pretty epic, anyway.


I wonder if you could use a bit of the paint as thick as it comes, as a kind of grout to fill in the seams? Though I also bet someone makes the equivalent of body putty for 3D printed objects.
Still, it’s looking pretty good to me!
The correct answer is to reprint it and start over, this time making sure the pieces fit well before gluing.
Thanks!