I want to point out at the start that I did not buy a 3D printer to print miniatures.
I bought it to print terrain and other parts for board games, and whatever other fun stuff I think of.
My boyfriend is buying a 3D printer to print miniatures. He’s a chemist. He can safely use one of those resin printers with smelly chemicals and stuff. Super high resolution, and the minis will look fantastic.
But, I couldn’t buy a 3D printer and not print a mini, right?
After a couple years of lurking in the r/3dprinting subreddit, I felt I finally had enough information to go shopping for a printer. I settled on the Creality Ender 3 Pro.
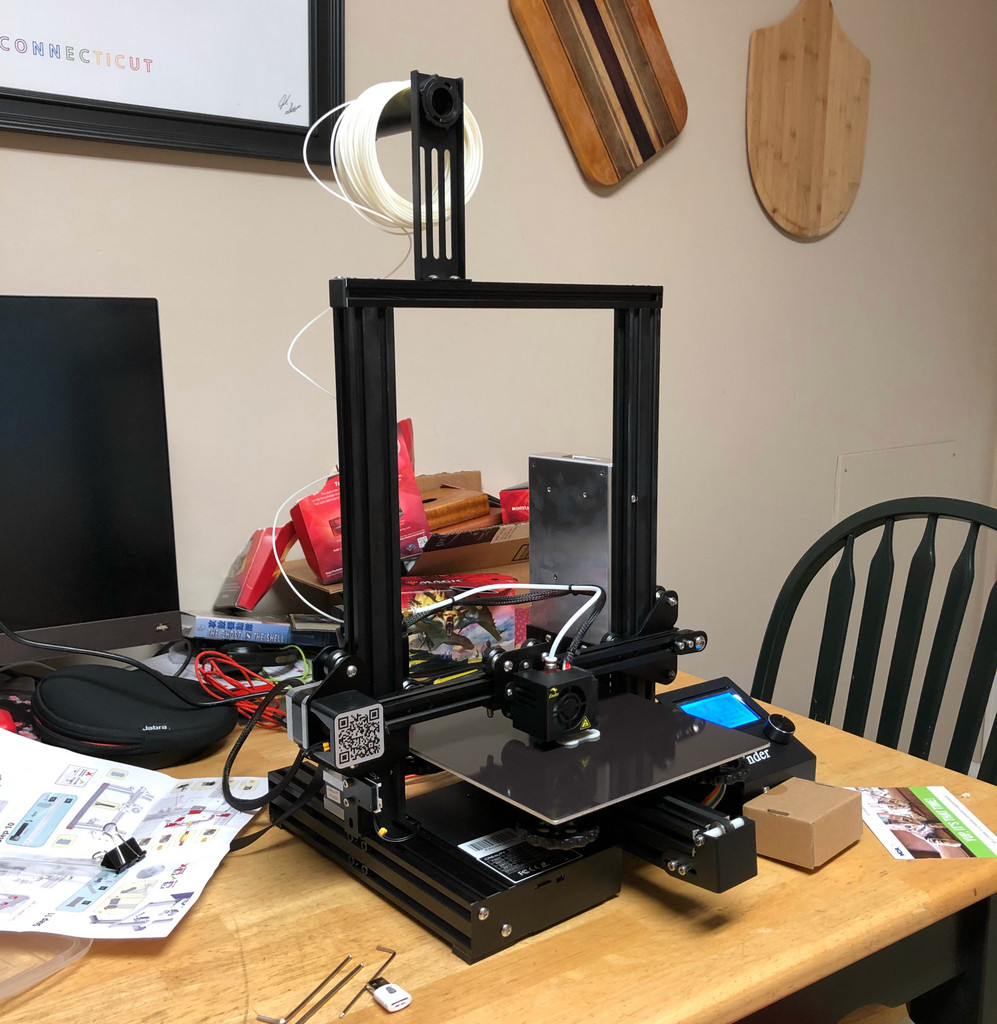
This comes unassembled in a flat pack. The instructions are a set of pictures with only one line of English text, which was, “do not tighten too much”, if I remember right.
Everyone on the subreddit says you’re going to need to watch a video, and I found and watched a video. I still put the X axis arm together wrong, so I let it sit a night and fixed it the next day. Then I had an issue with the Z axis helix, so I let it sit another night and fixed that the next day. Then I worked on cleaning and leveling the bed, figuring out how to thread the filament, and familiarizing myself with the print preparation process.
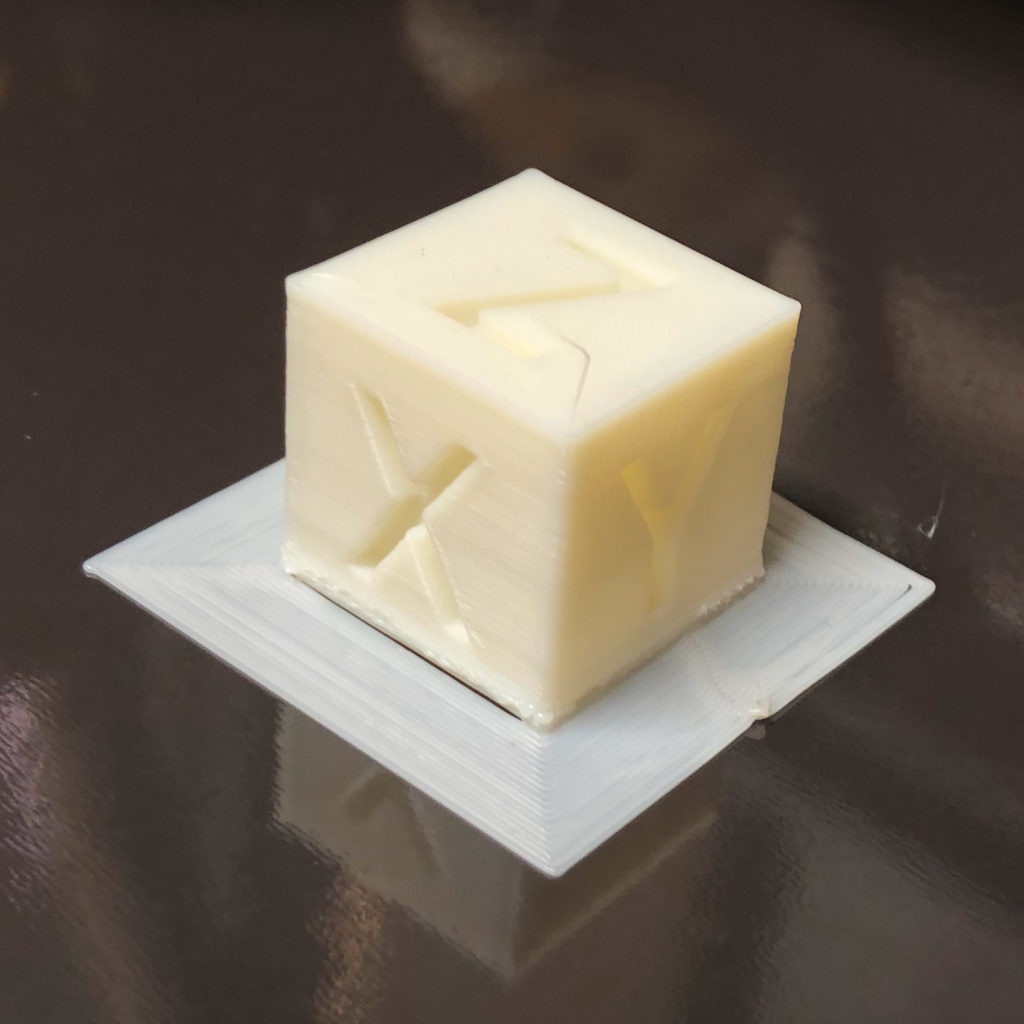
Finally, last night, I downloaded and printed my first successful print, a 20mm calibration cube.
I didn’t do anything particularly special, except to slow the machine down in order to help the print keep its grip on the bed.
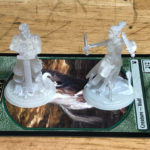
I’d downloaded some EverQuest characters from Hero Forge the other day and thought I’d better give printing a mini a whirl. You need slicing software to convert an STL 3D file into “gcode”, the 3D printer language. I’d downloaded and played with Ultimaker Cura, a very popular slicer, but in the end went with the slicer provided with the printer, Creality Slicer.
My experience with prints lifting mysteriously from the bed had taught me to use any possible mechanism to keep those prints anchored, so I set it up print a “brim” on the first layer, a flat sheet to increase the points of contact with the bed. I also added support structures, laid the mini on its back in the slicer, sliced, prepared the printer, plugged it in and hit “print”.
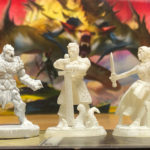
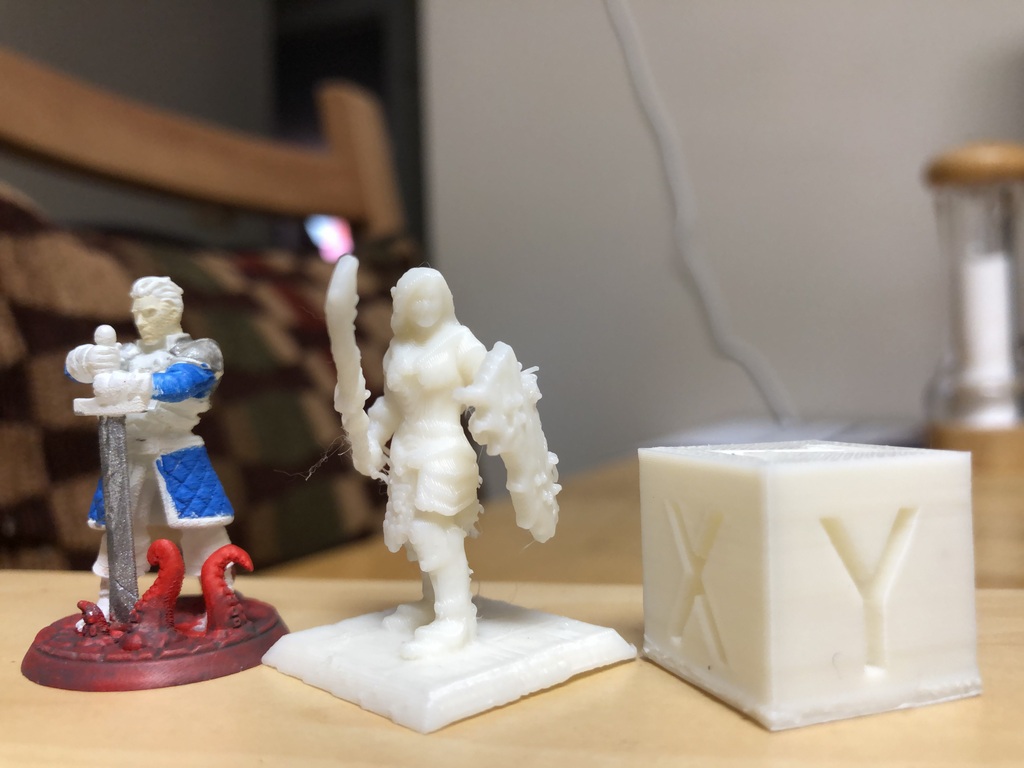
The result is as you see in the top picture, between the Shapeways-printed Olberic mini that I’ve started painting the base layers, and the 20mm calibration cube.
I’ve cut away the support structures but haven’t done much other cleaning up yet.
You can easily see that the Shapeways print shows much more detail, though since it’s been primed and partially painted, the detail has already been enhanced.
The Creality can do better detail. I’d need to go from a 0.4mm extruder nozzle to a 0.2 or 0.1 and change the printer settings accordingly. It would take a lot longer to do — the print I made this morning took only half an hour. But with work, the detail on the minis I print would match the ones I got from Shapeways.
I’m happy enough with it as it is, though. The BF will print it better for me when he gets his stuff set up. And I’ll take what I learned and begin preparations for Gloomhaven: Jaws of the Lion when it comes out next month.
It’s going to be epic.