
The third clash of our Malifaux fall league paired me up with what is probably our local group’s strongest player. I didn’t expect I had any chance of winning, so I just figured I was there to have fun. And yet in the end… well, I’ll save that for the end.
This one is going to be a little short; writing it before I have to go to work.
I’d heard about the Big Hat faction, but had never played against them. They’re a summoning crew, and summon they did. Som’er started out with twelve models on his side of the battlefield, to my eight, and by the end of the game he had fifteen or more out at once… to my eight (and then, suddenly, tragically, seven).
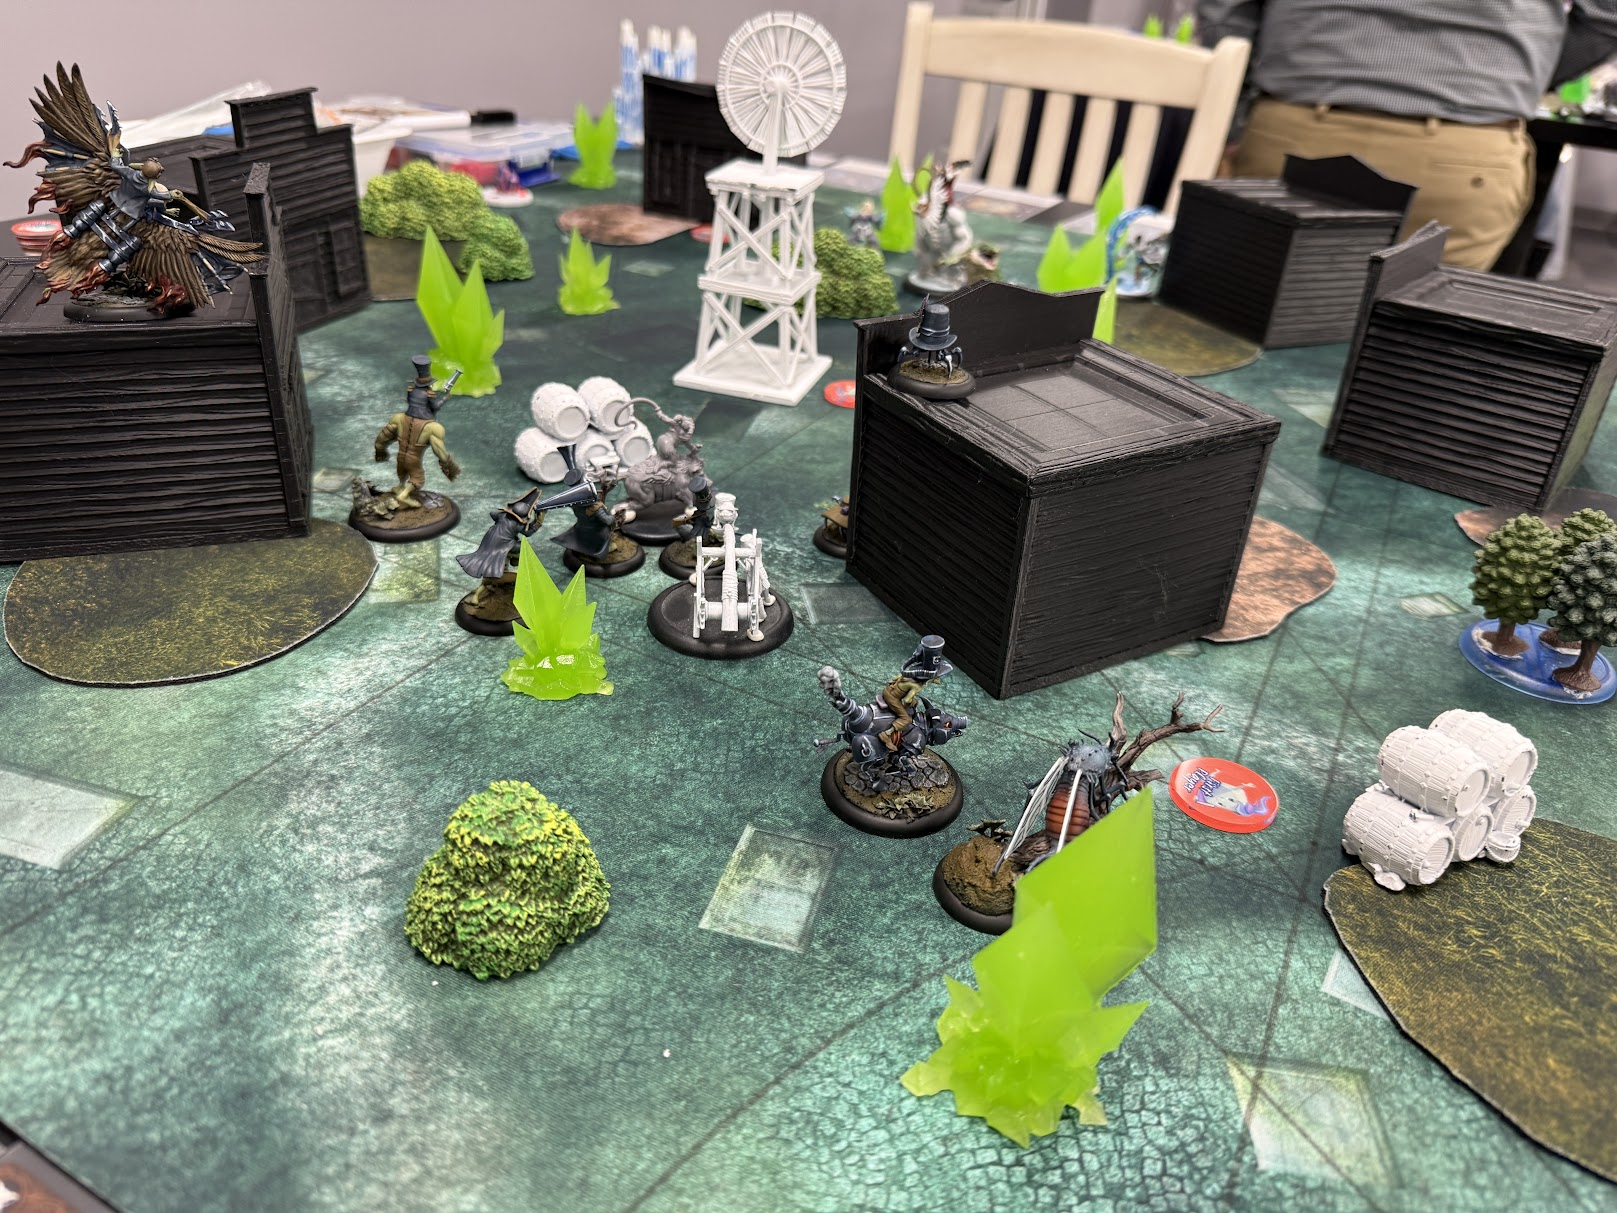
Deployment: Wedge
Strategy: Aetheric Conduit
Scheme Pool: Make It Look Like An Accident, Reconnaissance, Stake A Claim
Wedge deployment is a large triangle centered on each player’s side of the battlefield. It prioritizes clashes in the center of the battlefield, which synergizes well with some schemes. I’d placed my two scheme runners too far down the edges of the triangle. This was a tactical mistake, as it took longer for my runners, Ceddra and Blessed, to enter the fray, making it hard for me to hit my first scheme with them. It was their one job and I had to use other models to do it…
Aetheric Conduit is a new strategy for Gaining Ground 1. Usually you can have only five of any one sort of marker on the board, and this includes scheme markers. Aetheric Conduit removes that limit. Setup places five strategy markers on the battlefield; one in the center of the map and one in the center of each of the map’s quadrants. Players place scheme markers not more than four inches from each other to link up the conduits. Linked up conduits are worth a point each, and both players can link up the same conduit. After each turn, the player who did not score the strategy gets a free strategy marker they can place wherever they like.
Schemes — Accident scores when you knock an opponent off a building and cause them damage. Reconnaissance is having some number of scheme markers near terrain on the opposite side of the board. Stake A Claim (the one I chose) is having scheme markers on the center line, at least 8″ from each other. If you can get a third one at least 8″ from the other two, it scores a second point.
My Team: The usual Raspy 2 crew — Rasputina, Abominable; Mara; Ceddra; Bashe; Snow Storm; Blessed of December; Silent One; December Acolyte.
Their Team: Som’er Teth Jones, Bayou Boss; Skeeter (x2); Drumstick; Georgy and Olaf; Jebediah Jones; Pigapult; Bo Peep; Gremlin Crier; Bayou Gremlin
The Big Hat team has insane mobility and can summon lots of peons, and so the first turn crawled soooo sloooowly. I moved cautiously. I have a tendency to rush right out and put myself in danger, usually getting Bashe killed way too early in the game. Ideally, he would never be killed, but he is a bit of a target.
Since Big Hat had so many more models, probably the prudent thing would have been to pass my turn a lot, but instead I took no passes and just moved as much as I could. My plan was to use my models to connect the back two conduits to each other and the center, but I only managed two due to interference from the Hat crew. I had Acolyte drop a scheme marker at the edge of the board for the scheme; Bashe, via a lucky trigger, was able to drop two more on the centerline near the middle — but the second of those was not far enough away from the others to score the second point.
I did flip well, and so a lot of enemy attacks were shrugged off. I did have trouble keeping enough ice pillars on the table to power up Snow Storm and Blessed. Raspy and Mara were able to connect the back conduits, while Blessed and Snow Storm connected the one on the right. Ceddra and Silent One were trying for the left, but the skirmish that followed left Ceddra dead, then resurrected, then dead again, and Silent One greviously injured.
At the end of Turn 1, Hat made the strategy, and I made the scheme, tied up at 1-1.
Second turn, Silent One healed up at the cost of a few soul stones, and I was able, between Mara and Raspy, to set up some ice pillars that stuck around longer; in particular, Raspy was able to shut down an attack on my right with Entombed in Ice, setting up Snow Storm to swoop in with an empowered attack to start eating away at them. Bash did some self healing with his signature action and took out a lot of the enemy minions. Hat’s effective first move fell apart in the second as even with their model advantage, they weren’t able to disconnect my conduits; and I’d made a new connection with the strategy marker I’d won for losing the strategy point on the first turn, leaving me with four activated conduits to their two.
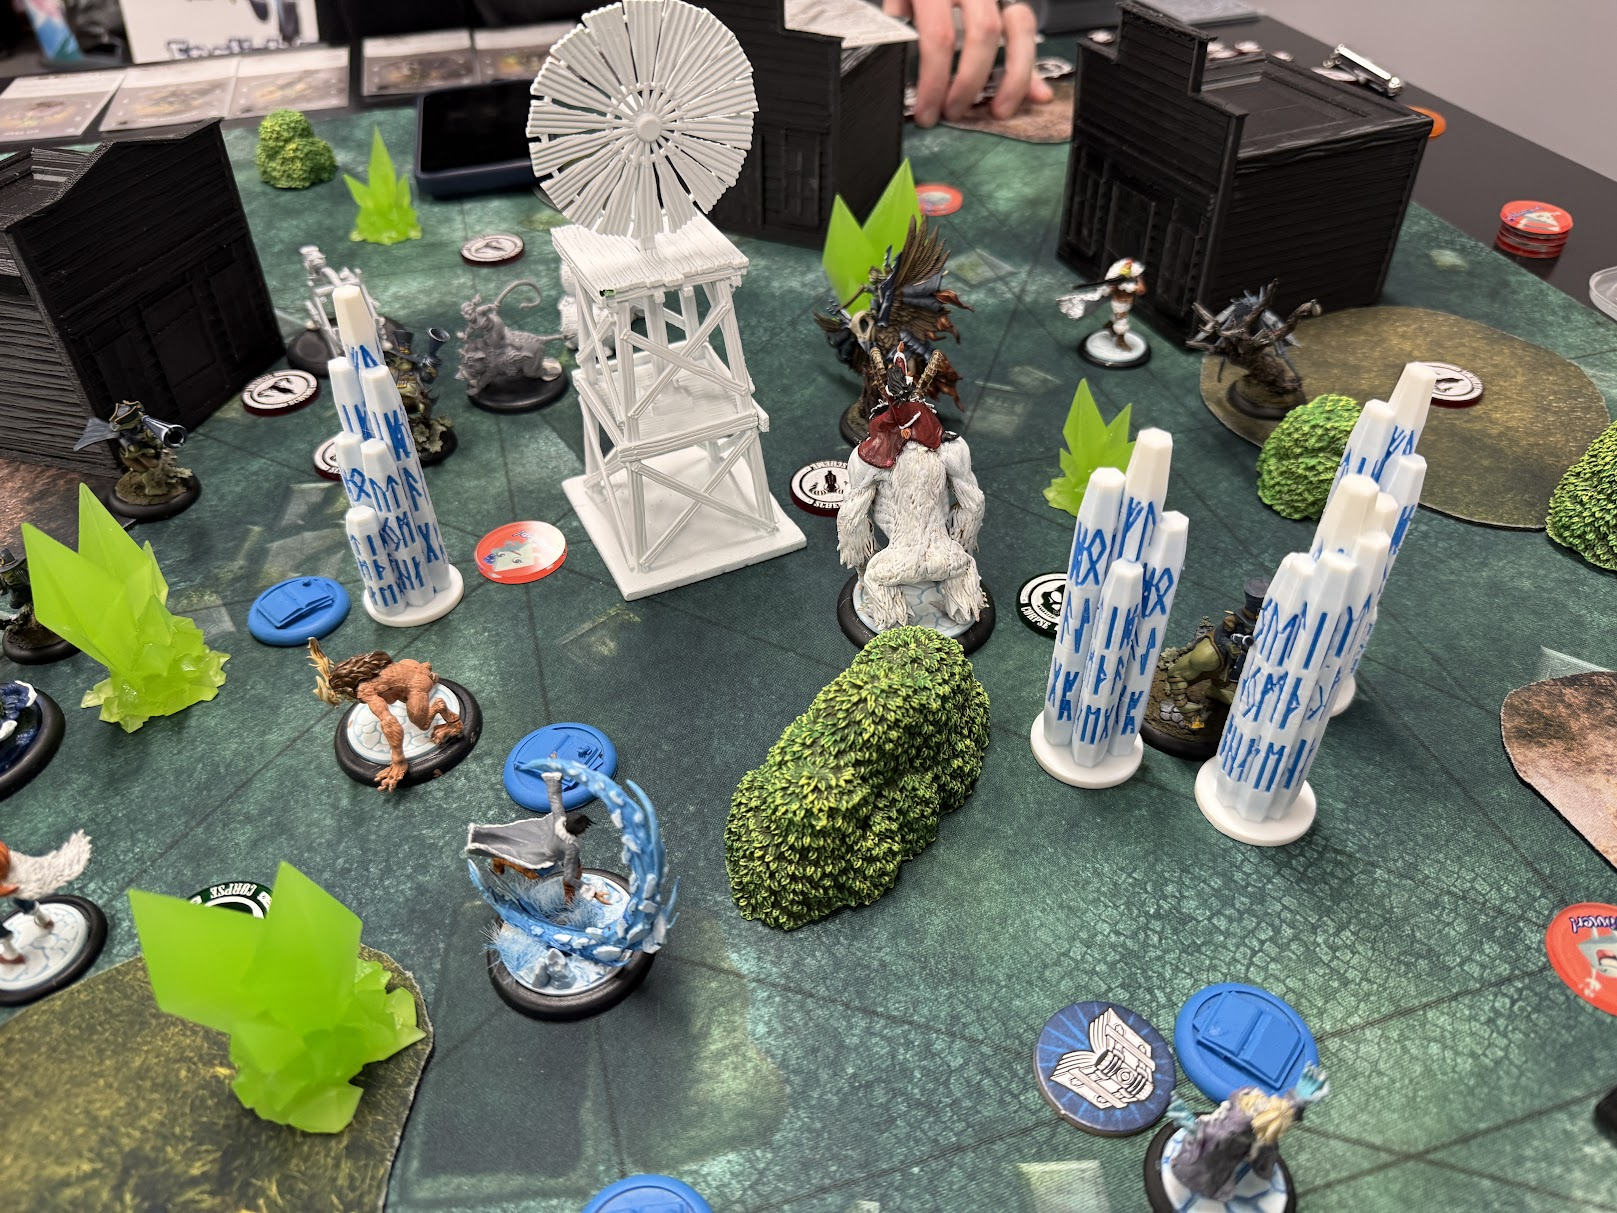
My second scheme was Lay the Bait, which scores when an enemy model ends their activation within 4″ of my scheme marker, extra point if it’s within 2″. I scored this early. Hat had taken Stake a Claim for their second scheme. My Acolyte messed this up, but with their extra models, they were able to make it and the extra point while I was out of activations.
Second turn ended with me getting two points (strategy and scheme) and Hat getting two points (scheme plus extra point). Because of the insane number of models on the Hat side, these two turns had taken us three hours and the store was closing, so we ended there, 3-3.
I was in a really good defensive position, with Bashe, Snow Storm and Blessed all still alive and in fairly good shape after the second move. I am pretty sure I could have fended Hat off and started whittling down their piece advantage (and was already doing so). I’m not sure I would have won — Hat would have gotten a free strategy token for losing the strat on turn 2, and Acolyte would have to flee back toward my side of the map in order to stay alive. Bashe was very much a target, but I was already bringing him back to the huddle on my side of the board and healing him by eating the corpses of his kills.
Hat’s Pigapult — which can toss models far, far into my territory — was a real issue. I sent Bashe to take it down but had to retreat.
I’ve learned, over many games, that Raspy can’t sit in the back and be content to nuke through ice pillars. She’s not a frontline fighter, but she provides invaluable support if she’s near the front line; in the photo above, she’s just about where she needs to be. Right in the middle, able to pivot and help out wherever necessary. She’s locking down the invader to the right and guarding quite a few of the conduit paths.
Battles against horde crews always make me antsy, but I think I did pretty well. A strategy that supported turtling up was a real help.


